The following steps will walk you through one option to be able to refund transactions.
Click the “Make a Sale” icon in the center top of your QuickBooks POS screen.
NOTE: To utilize this option you will need to contact the Instant Accept support team at (855) 220-2840. They can then set you up for credits on the back end.
In the top of your QuickBooks POS screen you can either
Scan or enter item information or
type in the customer name or phone number.
Choose the items that your customer would like to return.
Click the grey “Credit” button at the bottom of your QuickBooks POS screen.
Choose your “Card Type”.
NOTE: Make sure to Click the “Return Item” button as shown below.
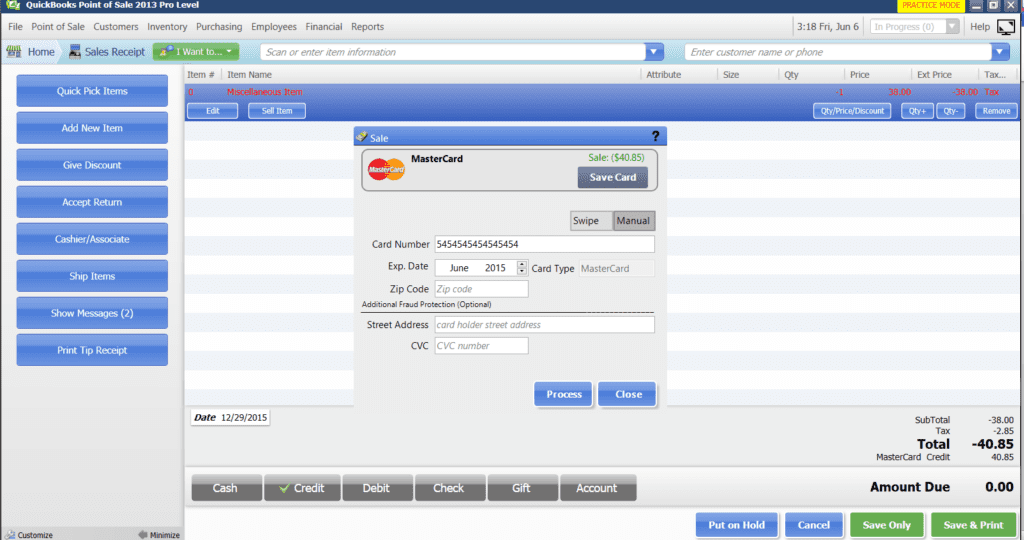
The ‘Sale’ pop up window opens. Here you can either
click ‘Swipe’ if you would like to swipe the customers credit or debit card or
click ‘Manual’ if you would like to manually key in your customers credit card information.
Click the “Process” button.
Click the “Print” button to print out your receipt or “Close” to exit the payment window
Click “OK” on the ‘Change’ screen.
Click the “Save Only” button or the “Save & Print” button.